Adding a Sheet to Roll20
It’s finally time! Time to take what we’ve learned in the last 2 sessions and actually start building our character sheet.
There are two ways to edit a character sheet in Roll20, and both require a pro subscription. I’m going to assume, and strongly recommend, that you have one going forward.
Method One: The Custom Sheet Sandbox
Roll20 has a sandbox you can use to edit your character sheets. I highly recommend doing your development here. It allows you to create up to 5 sandbox games and refresh your documents in real time.
You cannot invite other players to join your sandbox.
To access the sandbox, you can use this link, you can find find a link from the “My Games” page on Roll20, if you are a pro subscriber.
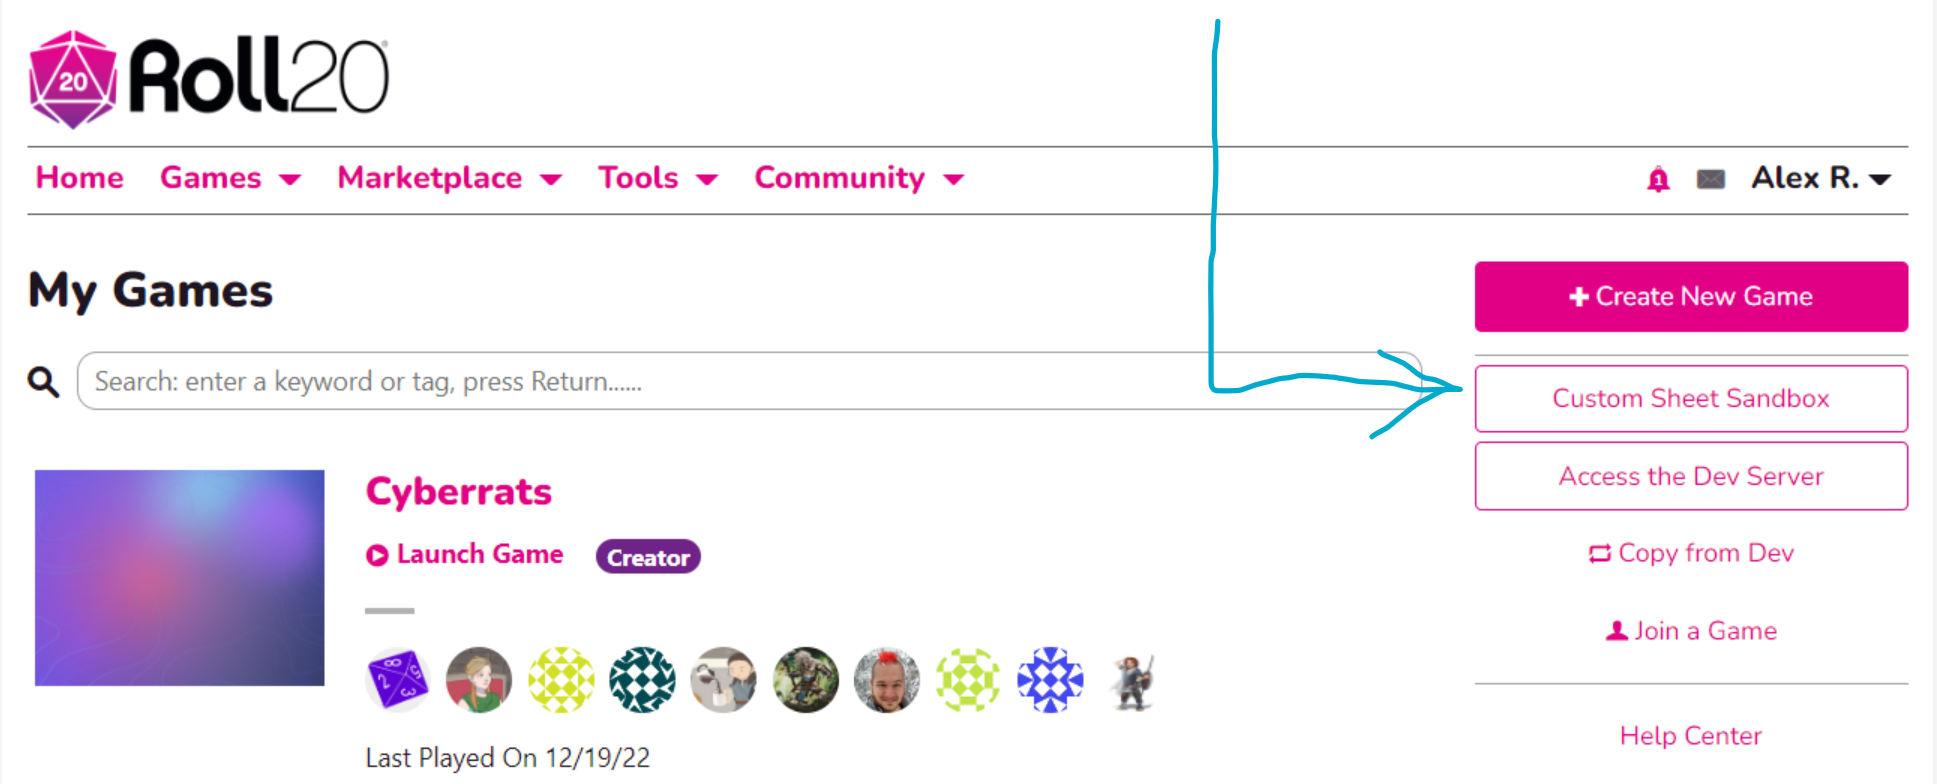 The sheet sandbox link button, visible to pro subscribers.
Once inside the sandbox, you will see a popup box with buttons to load HTML, CSS, and Translations.
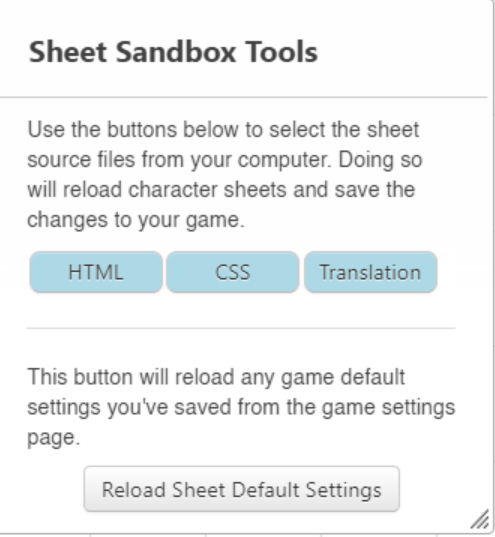 Upload Tools Panel
You can save your HTML and CSS documents on your computer and use these buttons to re-upload them an refresh without having to leave this sandbox. This is a vast improvement over the other method (below), where you have to leave the game and refresh the entire editor to see your changes.
The HTML and CSS files will immediately affect any characters you create, so create a dummy character now to see the changes that we’ll make shortly.
Method 2: The Custom Sheet Editor
The only reason to use method 2 instead of method 1 is if you want to use your character sheet in a game you are running, or show it to another person. Even if you fit that description, I recommend creating it using method 1, and using method 2 to show it off.
If you create a game in Roll20, or go to the “settings” page of a game you’ve already created, you will have the option to change the character sheet template.
Pro Subscribers should see the option for “custom” in the dropdown.
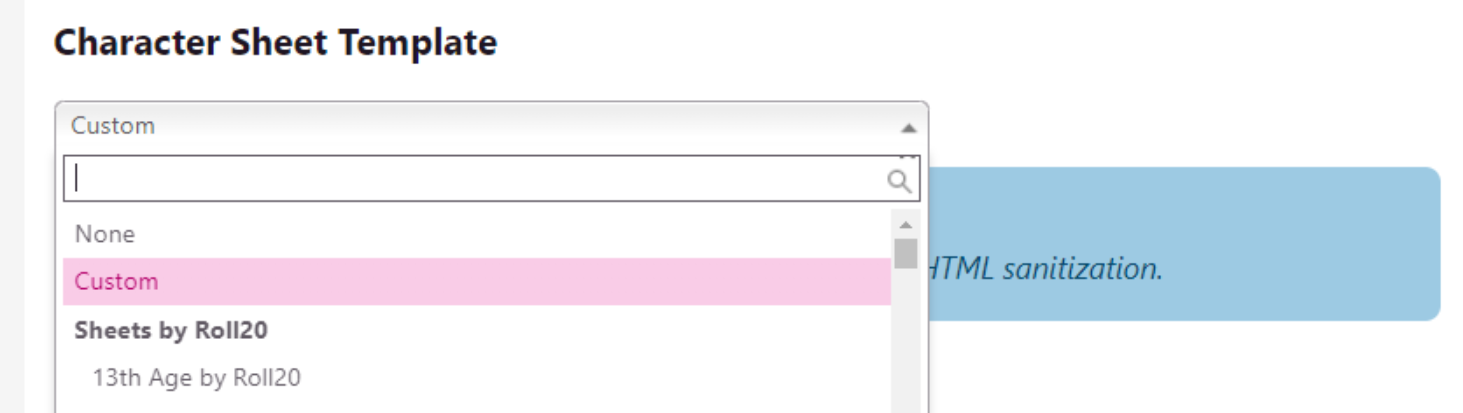 Roll 20 character sheet dropdown
Once you select this, you’ll see tabs where you can paste in your HTML and your CSS. Note that unlike the previous method, you won’t be uploading files, but pasting them in here. If you ignore my previous advice, heed this: do not edit directly in here. Edit in a saved .html file on your machine and paste the results in. Why? So that if something goes wrong, you have two versions, the version here, and the version on your machine. Plus your version supports ctrl + z a lot more reliably than Roll20.
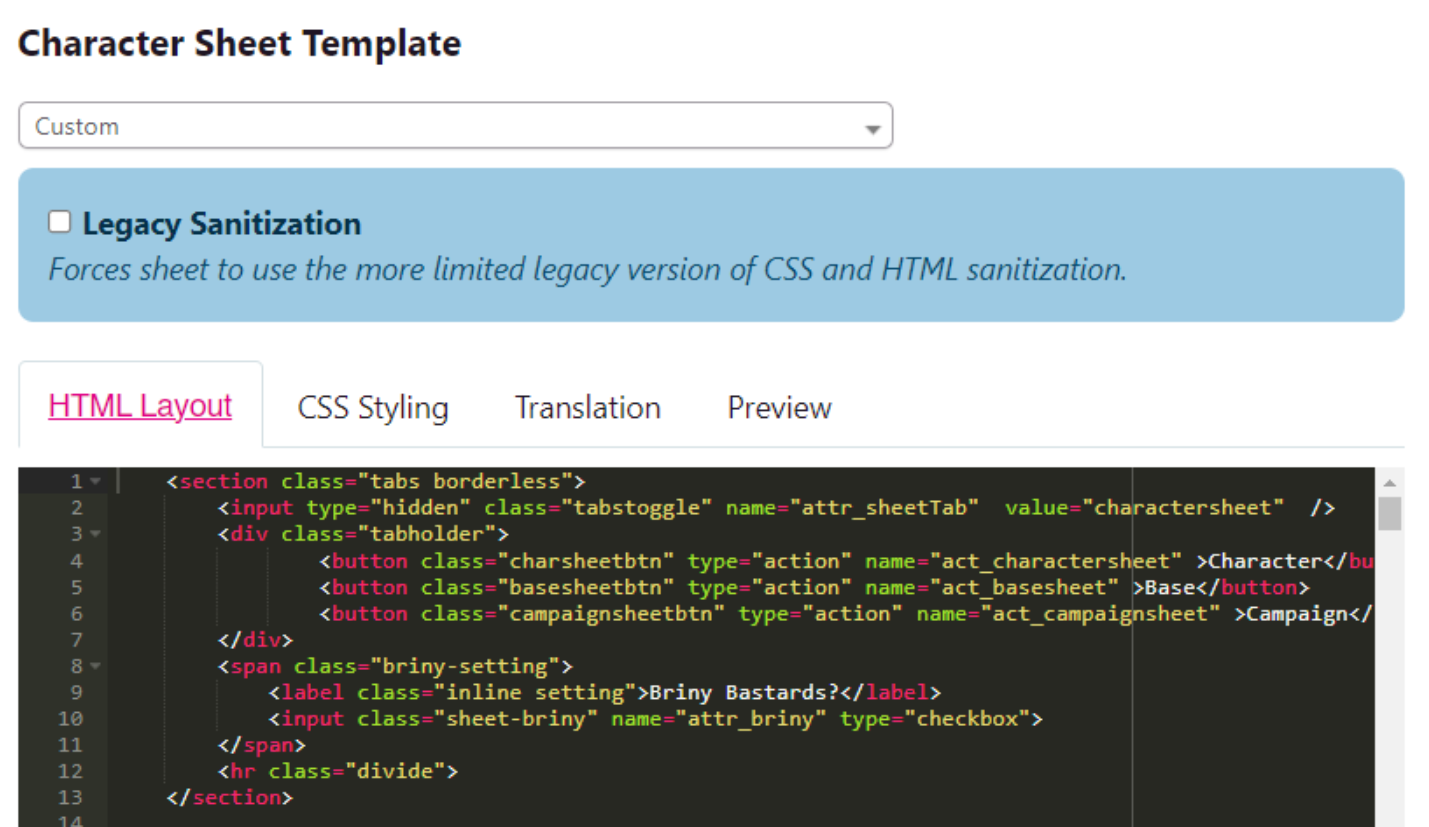 ROll20 Character Sheet dropdown with tabs
There is also a preview tab here, which claims to show a preview of your HTML. DO NOT TRUST IT! This preview is doing its best, but its best is not very good. The only way to see what your character sheet will actually look like is to launch a game (including the sandbox) and make a character.
Editing the Sheet
Okay, now that you know how to edit your sheet, let’s get down into it! We’re going to make our very first, rudimentary character sheet, and then in the next session we’ll improve it and make it functional.
But we’ve got to crawl before we can walk, so let’s get crawling!
We’re going to make two files, one for HTML and one for CSS. Let’s start with the HTML.
HTML
Make a new file using your text editor of choice and name it “characterSheet.html”.
Most websites need to start with
<html>, and then have a<body>tag, with the website’s content between the opening and closing of these tags. NOT SO with Roll20!You cannot have these tags, nor can you use
<link>tags to include external CSS or JavaScript. Roll20 handles that for you.These idiosyncrasies (and more) are why I suggest paying for pro and testing directly on their servers. If you choose not to do this, you can get a rough idea of what your sheet will look like, but you’ll have to edit it before you can submit it, AND you won’t be able to get a perfectly accurate preview without Roll20’s default CSS.
Inside your characaterSheet file, put the following code:
1
2
3
4
5
<div class="header">
    <h1>Game Name!</h1>
    <label for="character-name">Character Name</label>
    <input type="text" id="character-name" name="attr_character_name"/>
</div>
You can copy-paste this code, I’ve made it easy for you. That said, I highly recommend typing it out. You learn more by doing!
Launch the custom sandbox (make a new one if you have to) and click the “HTML” button. Navigate to where you saved your local file and upload it.
Your browser should remember your upload location, so you won’t have to navigate nearly as far for subsequent uploads.
Then create a new character and open them up! Click “save” on the new character screen and viola, you can see the character sheet we’ve made!
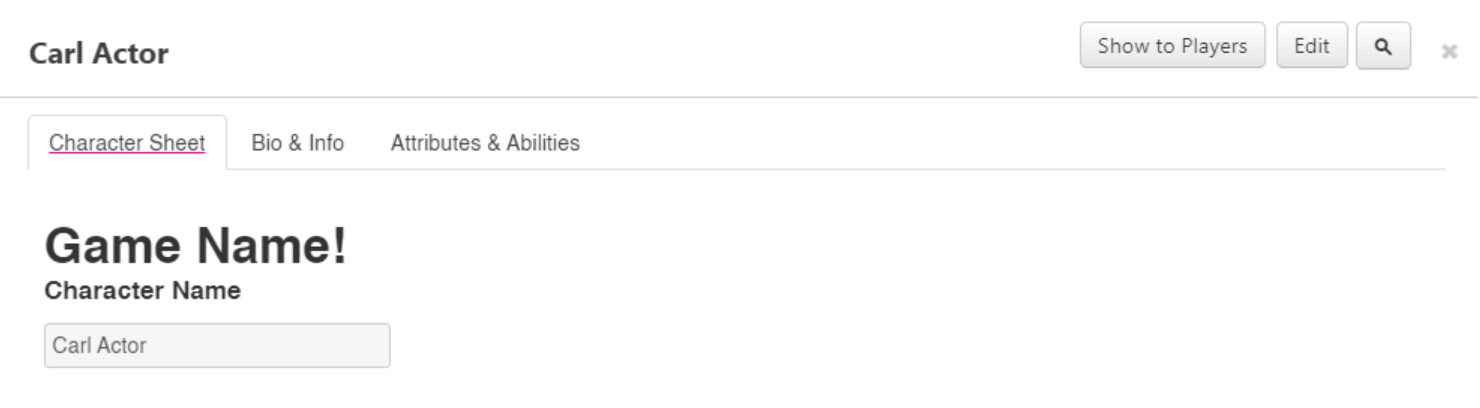 Not very pretty, is it?
You may notice that the input is filled in with the name of my character. That’s because I gave it the name of
attr_character_name. Roll20 uses that built-in attribute to track the character name. If you change the text in this input box, it will change it everywhere the character is referenced.
Let’s make this sheet a bit prettier!
Help! My character sheet isn’t showing up! Some text editors default to having an extension of
.txt, so it’s possible you actually saved your document as “charactersheet.html.txt”. If that’s the case, do a save-as and make sure that the “file type” dropdown is set to either.htmlor.*.
CSS
Make a new text file and call it characterSheet.css. Let’s add some styling. First, we want the header to be centered. For now, it’s probably okay to center every h1 element, so we don’t need to give that one a class. Not yet anyway.
1
2
3
h1 {
    text-align:center
}
Feel free to save this and upload it (using the CSS button on the same upload panel). Verify that everything is working. Your sheet should look something like this:
 Yup, that text sure is centered
A good next step is to look at getting out label and our input to appear on the same line. And what a great opportunity to introduce the Element Inspector
The Element Inspector
The Element Inspector is every web developer’s best friend. It lets you examine every HTML element on the page, see what classes are applied to them, what CSS styles are in effect, and which ones are being ignored.
Launching the Element Inspector

The easiest way to launch the Element Inspector is to right click on any part of the character sheet and select “Inspect Element”. Many browsers also include shortcuts to launch this, such as
If the Element Inspector appeared inside your window, I recommend instead launching it to a new window, which you can do from the ... menu.
Now that the Element Inspector is open, find our label, either by right-clicking it and selecting “inspect”, or by searching through the HTML in the Inspector itself.
Once you find it, you can hover over the element to see it highlight on the character sheet. You can also see all of its properties.
By default, Roll20 has its labels take up a huge amount of space. They have a default value of
width:100%anddisplay: blcok, meaning they will expand to fill the entire parent’s container. I don’t like this default, and recommend either implementing your ownlabel { width: fit-content; display:inline; }rules, or making liberal use of a customnarrowclass on your labels that applies the same properties.
Looking at our label, we can see EXACTLY why it’s taking up so much space.
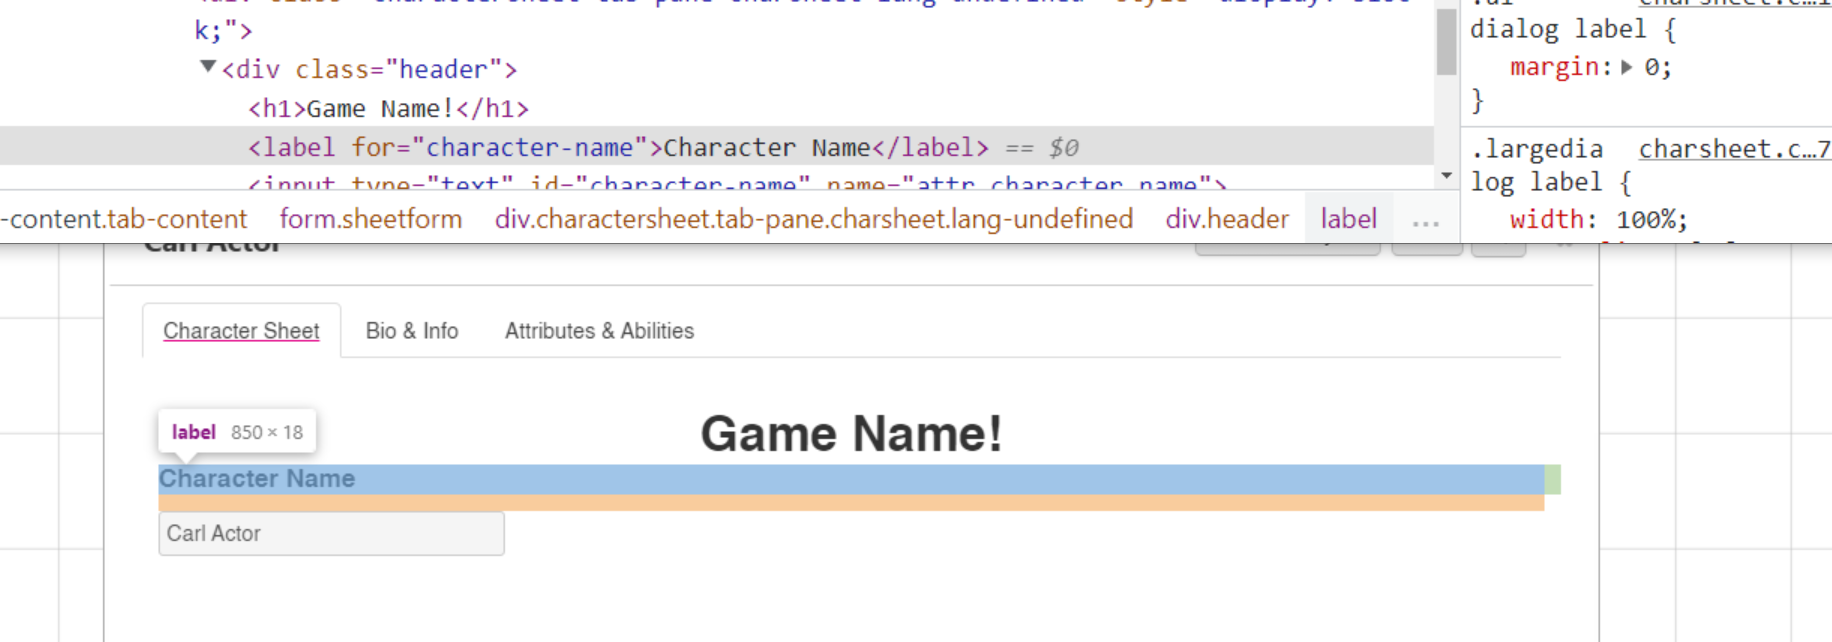 Note the
 width:100% property to the right
The Power of the Element Inspector
We can actually change the properties of our label right here in the element inspector! Click on the label, and under “Element Style”, type display: inline. You can immediately see the input element move to share a line with its label! Perfect!
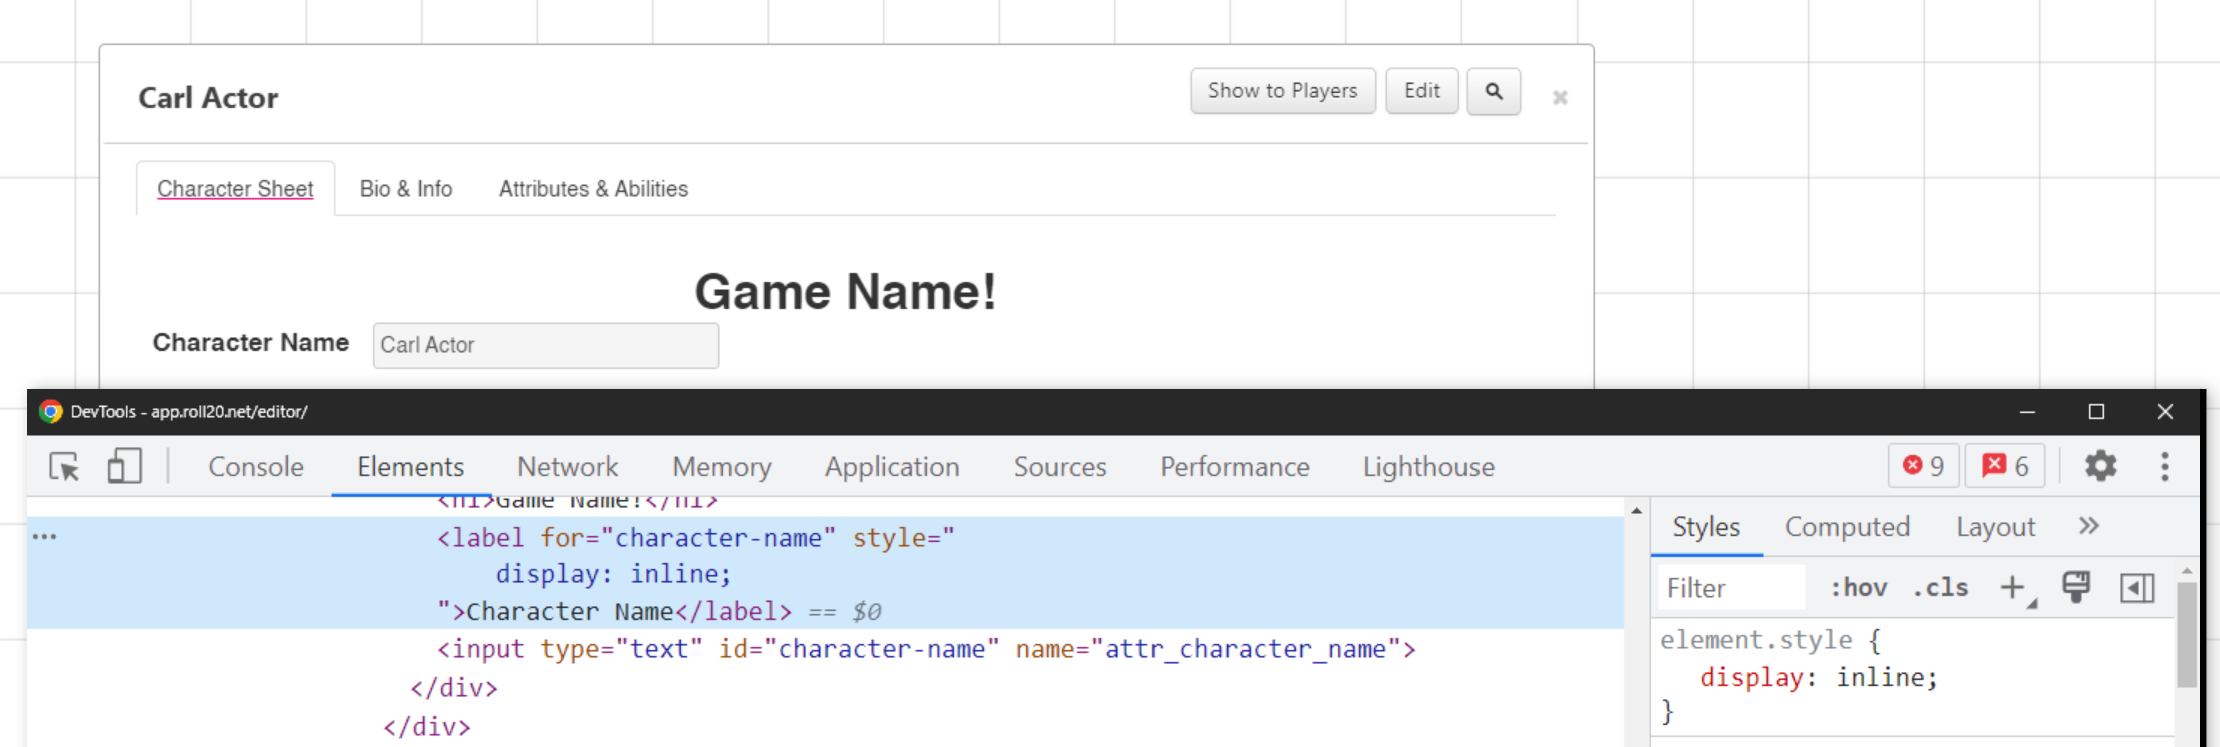
But this is only a preview; when we refresh the page, these changes will vanish. To make them permanent, we need to put them in our CSS file.
So let’s go back to our HTML and give this label a class:
1
2
3
4
5
<div class="header">
    <h1>Game Name!</h1>
    <label class="inline" for="character-name">Character Name</label>
    <input type="text" id="character-name" name="attr_character_name"/>
</div>
and in our CSS give that class some meaning:
1
2
3
4
5
6
7
h1 {
    text-align:center
}

.inline {
    display:inline;
}
I won’t always include the entire CSS and HTML code, but will start to only type the relevant bits throughout the tutorial. At the end of each session, I’ll post the whole code we have so far.
Now reload both the CSS and the HTML and what do we see?
Nothing!?
Don’t panic! If we open up our Element Inspector, we can see that our display: inline property has been overwritten by another on .dialog label. Fear not! This is just a matter of specificity.
So before you go reaching for that !important, remember my warning: !important may seem tempting, but it leads you to a world where everything has to be important all of the time. Let’s try to avoid that world as long as we can.
Instead, let’s just add a little bit of specificity to our selector, changing it from .inline to label.inline:
1
2
3
label.inline {
    display: inline;
}
We refresh the CSS with our favorite blue button and…
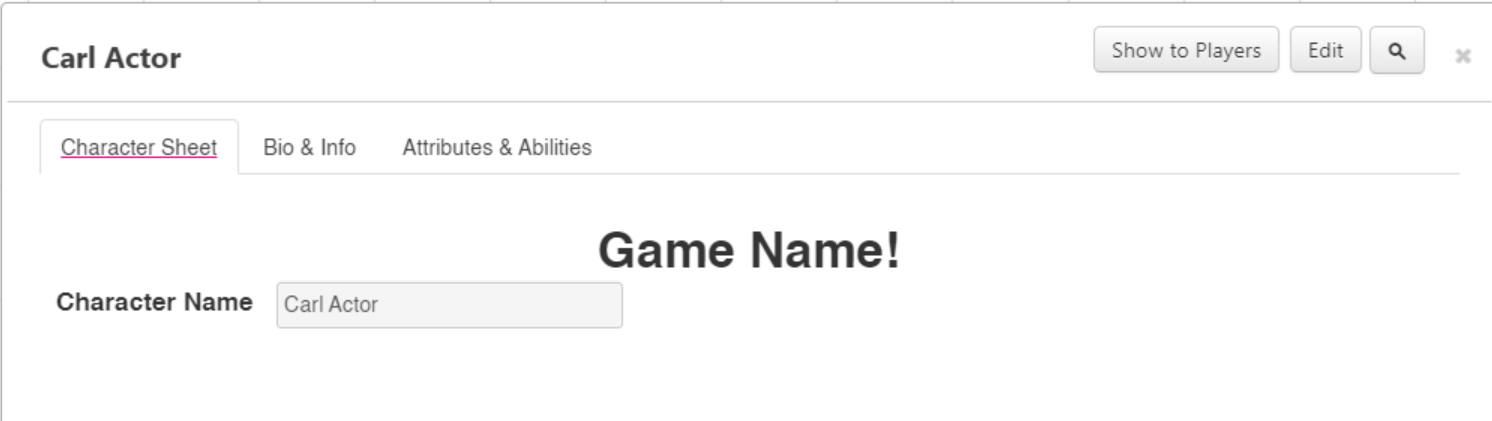 Viola!
If you’ve made a Roll20 sheet before (especially prior to 2021), you may be wondering “Wait, don’t I need to call my class
sheet-inline?” No, not anymore! You still can if you’d like, but Roll20 removed the requirement for the “sheet-“ prefix on all class names. (The exception to this is roll templates, but we’ll talk about those in a later session.)
Tips and Warnings
Next session we’ll expand on this example and build out an entire character sheet (with better layout, too!), but first I want to lay out some tips you’ll find useful.
Comments
If you want to leave a note to yourself about what a div is used for, or what a CSS property does, comments are a great way to do this!
In HTML, you make a comment with <!-- and close it with -->, like this: <!-- comment -->.
In CSS, you make a comment like this: /* This is a comment */
Both of these comments can span multiple lines (though before if you do this in CSS, see below).
In Notepad++, you can type your comment and simple hit ctrl + k to format it correctly. In VSCode you can do the same with ctrl + k, c, that is holding ctrl, pressing k, releasing k, and pressing c (without releasing
ctrl ).
If you use a multi-line comment in CSS (like what you see below), ROll20 sometimes gets mad and simply stops processing your CSS rules without telling you. I recommend keeping your comments to one line where possible. If you need to, use multiple one-line comments in a row.
1
2
3
4
5
6
7
/* Roll20 gets mad if
  You have a big long comment
  Like this one, so you should avoid it
 */
button {
    width: 50%;
}
If you need long comments, do this instead:
1
2
3
4
5
6
/* Roll20 doesn't care*/
/* How many of these comments */
/* You use in a row */
button {
    width: 50%;
}
Sheet Editor Breaking / Freezing
It sometimes happens that the sheet editor stop responding to your changes, or blocks you out entirely. Don’t worry about it.
You can have up to 15 concurrent sheet editor sessions, so if something seems weird, just close it out and open a new one. Remember, your HTML and CSS files live on your own computer, so the only data you’re losing is the test characters you’re using to tinker with.
For Cyberrats, I ended up with 6 different Sheet Editor games due to freezes.
Mitigating the Freeze
However, there are some things you can do to lessen the chance of needing a new session.
- Avoid underscores
- When we get to using JavaScript, certain events will not work if your attributes have multiple underscores in them. To avoid this entirely, simply use hyphens instead of underscores where possible.
Note: Underscores are required for names like “attr_xyz”, “roll_abc”, and “act_def” (more on these later). Aside from these prefixes, prefer hyphens.
- Avoid forbidden words.
- The following words are not allowed in Roll20 AT ALL, even inside of other words. Do not use them:
- Data
- Eval
- Cookie
- Window
- Parent
- This
- Behavior
- Behaviour
- Expression
- Moz-binding
- The following words are not allowed in Roll20 AT ALL, even inside of other words. Do not use them:
Note: This does mean you cannot use fonts with names like MedievalSharp.
Use the wiki
Roll20 has an excellent wiki, full of wonderful information about making character sheets. If you’ve got a question about how something works, this is an excellent resource that you should return to often.
Templates
There are a number of Sheet Templates that the community has made, in an attempt to give sheet creators a starting point.
None of these are beginner friendly. The closest to beginner-friendly is Anduh’s simple sheet, which uses a technique called CSS-Grid (which we will begin using in the next session.)
HTML Attributes
When writing your HTML, it’s a good idea to give every element either an id or a class
Both are used for CSS selectors, and while neither is necessary, it will make your life easier
Classes are used for reusable selectors (e.g. styling multiple buttons the same way), while ids are used for referring to one single item. Class is used more often, generally.
Summary
Right now, we have a very rudimentary character sheet. Next session we’re going to build a better one, with different sections, and with positioning elements within those sections. See you there!
Total Code so Far
1
2
3
4
5
<div class="header">
    <h1>Game Name!</h1>
    <label class="inline" for="character-name">Character Name</label>
    <input type="text" id="character-name" name="attr_character_name"/>
</div>
1
2
3
4
5
6
7
h1 {
    text-align:center
}

label.inline {
    display:inline;
}