Submitting your character sheet to Roll20
First off all, congratulations.
Seriously, this was a lot of work, and I’m proud of you. No matter how long it took you, or how much experience you had before you began, you’ve done it. You started with nothing and have created a character sheet for a game you enjoy. You’ve made a tool that can bring enjoying to other people, and make their lives easier. More than that, you’ve removed a barrier to play.
It’s a big deal, and it probably wasn’t easy. So I’ll say it again: I’m proud of you. Take a moment and pat yourself on the back. Pull up your character sheet and behold what you have made.
Smile. You earned it.
Submitting the sheet
You’ll need to create an account on Github, as well as some tools.
You can find a full guide on the Roll20 Wiki.
Logistics
When you actually go to submit your file to Roll20, you’ll need (at least) 4 files: your html (which should have the same name as your game), your css (again, named <gamename>.html), a picture of your character sheet (typically called preview.png), and a special sheet.json file.
Create an empty text document and rename it sheet.json.
Note: Windows defaults to hiding file extensions. Make sure you are not accidentally creating a file called sheet.json.text. It will not work.
The sheet.json file tells Roll20 the names of your other files, instructions for how to use the sheet, and whether you’re using legacy features (we are not). The sheet.json file for Cyberrats looks like this:
1
2
3
4
5
6
7
8
9
{
  "html": "Cyberrats.html",
  "css": "Cyberrats.css",
  "authors": "Alex Rinehart (@asr1)",
  "roll20userid": "1458276",
  "preview": "Preview.png",
  "instructions": "Create one shared sheet of type Campaign for tracking the campaign, one shared sheet of type Headquarters for buildings, and two Character sheets for each player. If you are playing with the Briny Bastards expansion, check the box on each sheet for additional content.",
  "legacy": false
}
Yours will look similar, except with different file names. If you’re using translations, you will have additional files and properties in this json.
Find a comprehensive overview of sheet.json on Roll20’s Wiki.
Let’s look at these properties in detail:
Authors: Include a comma-separated list of authors, including their github ids in parentheses. For example, "authors": "Alice A. (@alliceProgrammer), Bob Jenkins (@BobbyJ), Cyberrats Team (@Cybertime)"
Roll20userid: This is your user id on Roll20. This can be hard to find. Log into Roll20 and go to your profile (today this is done by clicking your display name and clicking “My Profile” in the dropdown). Then check the URL, which should look something like this: https://app.roll20.net/users/1458276/alex-r. The userID is the number between “users” and your username.
 Click this one
Preview: should be the path to the image of your sheet. Probably this is just the filename; these should live at the same “level” in your folder. This image will be shown when a GM selects a character sheet. Pick one that looks nice.
Instructions: I don’t always know what to put here. If there’s something non-obvious about your character sheet (like how Cyberrats has different tabs for different types of sheets, or toggle for the expansion), you can detail them here.
You can also add user options for default sheet settings. These allow a GM to specify default settings for all character sheets made with your game. Learn more in session 11.
Legacy: Set this to false. Note: there are no quotes around the word false. The Legacy flag is for older sheets, and should not be used.
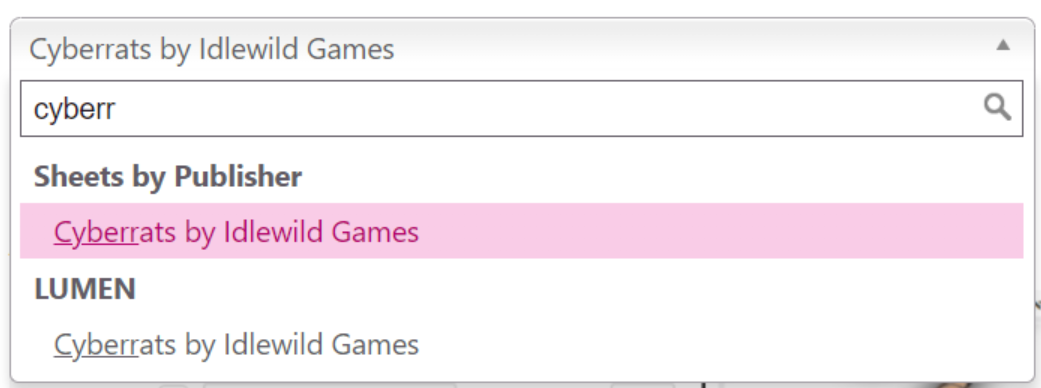
 Setting your roll20userid also gets you this Sheet Author flair
Github
Github is a website that lets programmers share software with each other and the rest of the world1. Roll20 uses Github to store their character sheets, so you will need an account there.
Github is mostly used to store Git repositories. Git is a special tool designed for something called source control, or versioning. Basically, it’s the way that software prevents itself from having 30 files named things like cyberrats_final_3.html. A repository is simply a collection of code.
Tip: “Git” and “Github” are pronounced with a hard “G”, like in Golf.
You won’t need to need to become an expert in Git for this guide. While you can use the command line to use git, many people find this intimidating, and prefer to use a graphical client, such as Github Desktop or Sourctree. Grab one of those now. As part of the installation, it should prompt you to install git. Do that.
On the Github website, go to the repository where Roll20 keeps all of their character sheets. Towards the top of the page, look for a button labelled “Fork”. Click it and create a new fork.
 A fork is your own copy of the code
Now you should have a copy of the Roll20 character sheet repository under your own name. For example, while theirs likes at github.com/roll20/roll20-character-sheets, my copy lives at github.com/ar1/roll20-character-sheets.
On your copy, click the “Code” button and then click “Clone”. You should see an option to use Github Desktop, or do do it from the command line. Pick an option you are comfortable with. This will download the code onto your machine.

If you’re using Github Desktop, it will make you log into the application with your Github credentials. This is necessary so you can “push” your changes.
On your machine, you will now have all of Roll20’s files. There’s a lot of them! Add a new folder named whatever your game is called. For example, mine is called “Cyberrats”. Inside that folder, put the four files we have made: preview.jpg, sheet.json, characterSheet.html, characterSheet.css.
If it’s been more than a week since you cloned the repository, you’ll need to do a
git pullto get the latest changes. This is because other people will continue to update character sheets, and those changes won’t be reflected on your local copy.
Then, you need to add your files, commit them, and push them. Your git client should make this easy. If you’re using the command line, open a terminal from the folder you are modifying and type git add . then get commit -m "My message" (you can change the message, but don’t forget the -m or you may get “stuck” in a text editor called vim). Finally type git push.
If you’re using a graphical git client, this should be even more straightforward.
Now, the changes you made should be on the website. Go to your repository and look for your changes. If they are present, great! You’re ready to make a pull request to Roll20.
A pull request is you saying to Roll20 “Hey, I’ve got these changes to your repository, and I’d like you to have them. Will you please pull them in?” Roll20 usually looks at these once a week, usually around Monday or Tuesday.
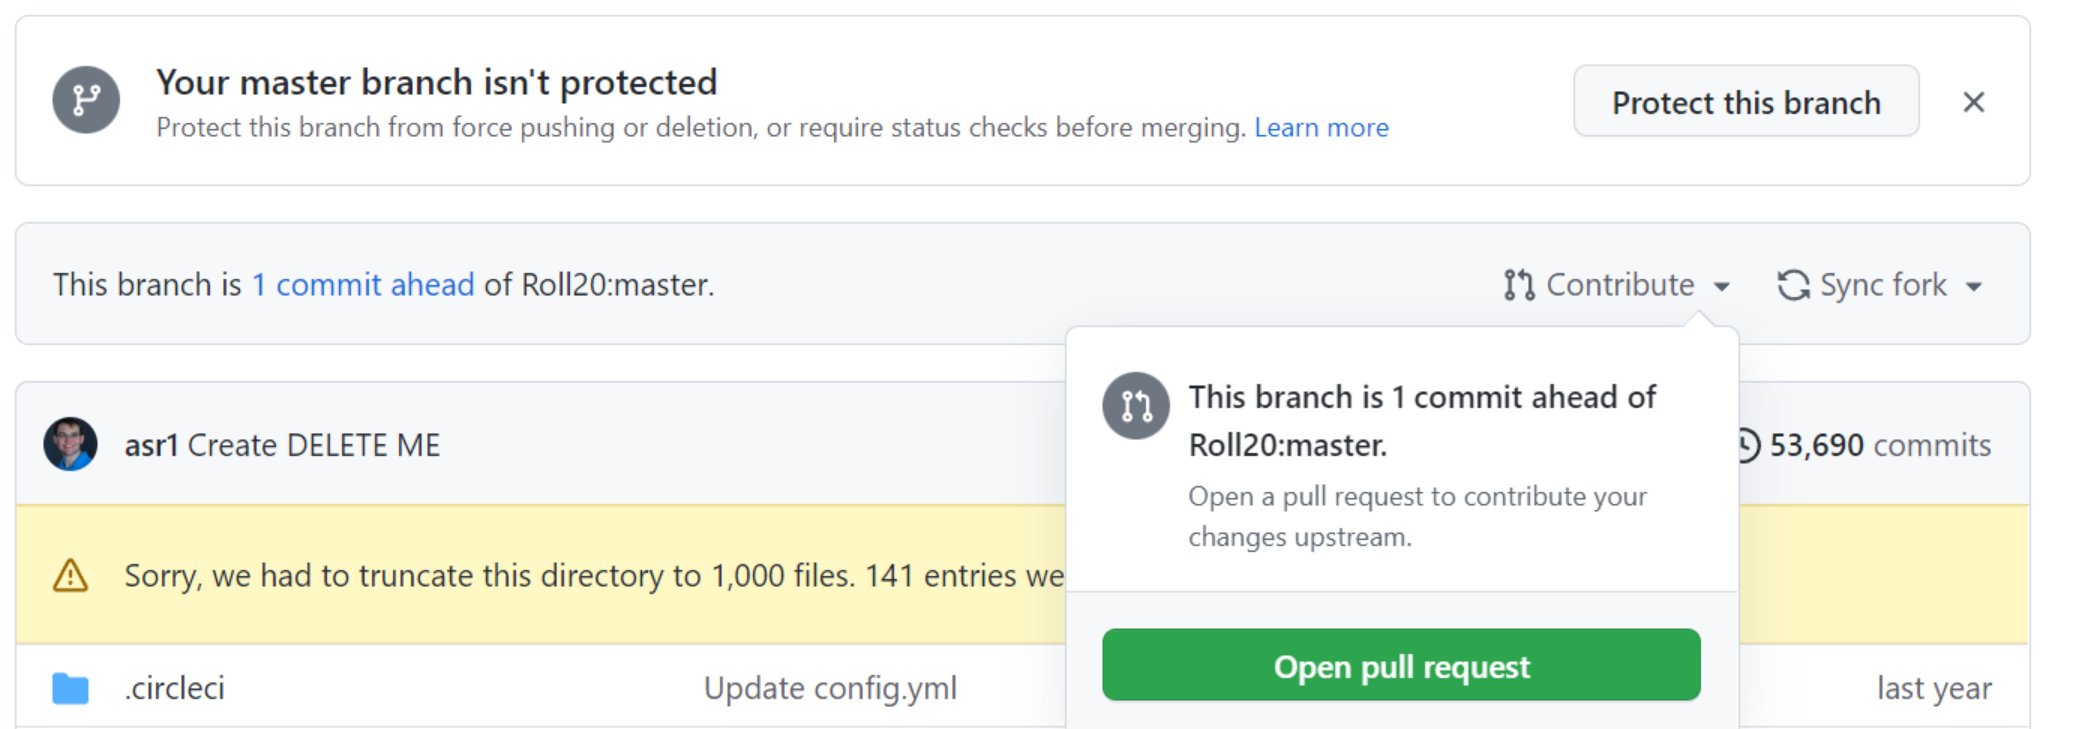
To make a pull request, simply go to your copy of their repo (github.com/YOUR_USER_NAME/roll20-character-sheets) and click the “contribute” button. Then click “Create a pull request”

There will be a text field where you can give your pull request a name (something like “add character sheet for Cyberrats” would be good), as well as a template you’ll need to complete. The instructions are pretty clear, and mostly involve putting “x”s into boxes and answering some questions.

If there’s a problem with your pull request, someone will leave a comment, and you’ll get an email. You should be able to fix it and try again.
Don’t worry if you get emails saying that builds failed to run or tests failed to pass. Those messages aren’t for you, and can be ignored.
After that, you just wait a week or so for your pull request to be completed! Once it’s completed, it can take up to a day for your sheet to appear on Roll20, but be patient and it will be there!

Summary
You’re a rockstar! You did it, you created a character sheet! This last part can be overwhelming, but you’re handling it like a champ. I know this section of the tutorial didn’t go into as much detail as some of the previous, but if you made it this far, I trust that you can find the tools you need to get this over the finish line. And if you can’t, just reach out and I’ll help make it happen.
-
Github was acquired by Microsoft in 2018. At the time of this blog post, I am employed by Microsoft. ↩
